- Discover
- Products
-
Enterprise
Wacom for Enterprise

Wacom Business Solutions
Improve efficiency and communication in your business.

Technology Solutions
Optimization and efficiency technologies for the world's leading businesses.

Wacom Ink Technologies
A universal inking engine and ink layer framework which connects hardware, software and applications.

Creative Education
Solutions to help educators and students create, communicate and maximize the learning experience.

Creative Enterprise
Helping artists and designers push creative boundaries and drive business success.
-
Education

Creative Education
Inspire your students to expand their creative horizons and prepare them for successful careers in art and design.

Wacom & Education
Supporting teachers and students to adapt to new learning environments.
- Support
- Store


開始使用你的 Wacom One
觀看此影片或按下列四個簡單步驟進行設定。

1. Connect
Connect your device to your computer, and turn the power on.
Learn more
2. Install
Download and install the latest driver. Follow the instructions on screen and restart your PC.
Mac driver
*For Mac: installing the driver, require Security & Privacy settings.
Please visit here
*Not required for Chromebook

3. Setup
After Setup Wizard, you will be taken to the Wacom Center. Click on "Register your device" in the blue registration field.
Learn more
4. Register device
Create a Wacom ID or sign-in and register your device to get your included software.
How to install the Wacom driver on your Mac - Troubleshooting
-

Install the Wacom driver on macOS 13
-

Install Wacom driver on macOS 13 – Adjusting security settings (Troubleshoot video 1)
-

Install Wacom driver on MacOS 13 – Driver Check and reset security settings (Troubleshoot video 2)
-

Uninstall Wacom driver on macOS 13 (Troubleshoot video 3)
-

How to register my Wacom device

Wacom One 現可搭配 Chromebook 一起作業。善用附贈軟體、教學和真實的繪畫體驗,以全新方式展現自我。
Wacom One 手寫液晶顯示器*和數位板*設定輕鬆簡單,給您所有投身創作興趣所需的一切。將你的創作提升到嶄新層次,並加入數位藝術社群的大家庭。這或許會成為美好事物誕生的起點。
![]()
此產品適用於能運行 最新版本Chrome OS的裝置,同時已通過 認證,符合Google的兼容性 標準。Google 對此產品的操作或其安全要求的合規性不承擔任何責任。Chromebook和Works With Chromebook徽標是 Google LLC的商標。數位筆必須搭配數位板使用,並以 Chrome OS 作業系統執行。
* Wacom One 13 觸控 (DTH134)、Wacom One 12 (DTC121)、Wacom One M (CTC6110WL) 與 Wacom One S (CTC4110WL)。如欲連接 Wacom One 和 Chromebook 裝置,建議使用 USB-C 傳輸線。
將 Wacom One 與你的 Android 裝置連接

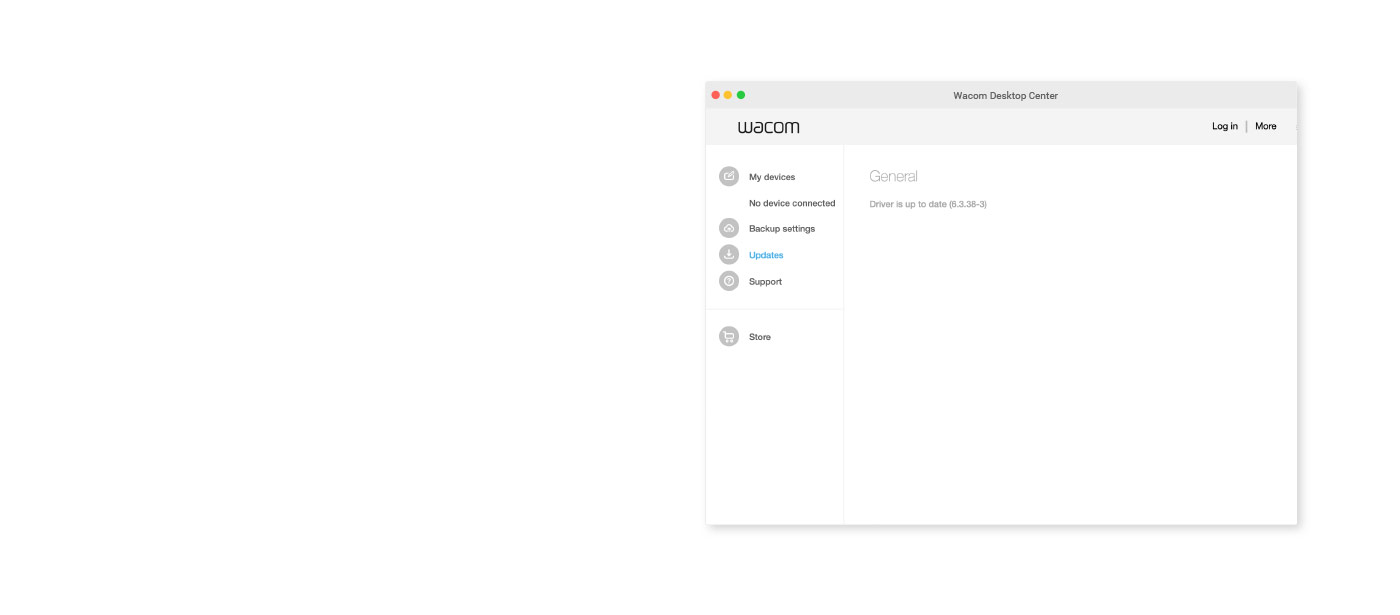
Wacom Center
✓ 自訂個人專屬的數位筆設定及其他產品設定
✓ 查閱用戶說明及重要的產品資訊
✓ 更新你的驅動程式、軟體或韌體
✓ 使用 Wacom ID 註冊產品
✓ 產品支援資訊