

Taking up digital drawing can feel daunting, especially if you haven’t picked up a pencil and sketchbook since you were a child. But by practicing drawing simple shapes, objects and features, you can quickly pick up the basics and develop your own digital sketch style. Here are 10 of the best things to learn to draw if you’re a newcomer.
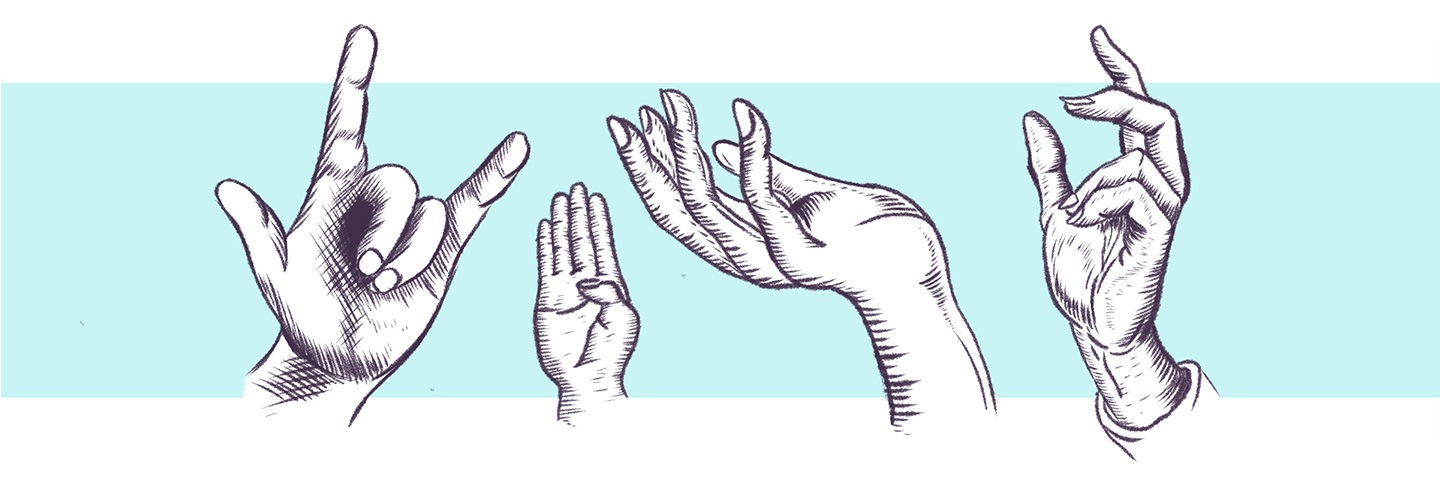
Hands are the ideal subject for beginners, with different gestures providing perfect practice for perspective, scale, curves and lines. Use with either a photo or a wooden artist’s model of a hand that can be moved into different positions. Beginners should try drawing the basic outline of an open hand, starting with the palm.
This basic shape should fit into a wide rectangle, with a curve across the top right and a straight line to meet it across the bottom right. Use circles to represent the knuckles across the top, with a thumb knuckle at the bottom of the left-hand side of the rectangle.
Learn to draw lines out from the circles as fingers, ensuring the proportion is right, with more circles on each finger to give them shape. You can now draw an outline of the hand around this shape. Once you’ve mastered this, try drawing other gestures.

Learning how to draw dogs on a tablet is a great way to improve your digital sketch skills and build your confidence quickly. Doing so requires an understanding of the basic shapes that make up their profile. So, use a circle to represent their head, a large oval to represent the upper body and a smaller oval or circle for the lower body. These can then be connected by curved lines, with lines running vertically from the body to act as legs. Consider perspective when drawing the ears and muzzle, using grid lines to ensure the face and head remain in proportion.
Buildings are the perfect subject for developing a better understanding of 3D and perspective drawing. Rather than drawing architecture flat, aim to make it jump from the page. Start by using a horizon line, from which ‘vanishing lines’ will radiate. It can be helpful to sketch these lines onto a drawing, so you can work out the angle from which certain parts of a building should be drawn on the page. Think of drawing a building as creating a series of cubes, adding a vertical line from the horizon and then, from the far end of the horizontal line, draw angled lines that meet. This will create proper perspective and make drawings look more realistic. Adding shading on one side of the building will also give a sense of where the light is coming from.

Butterflies might seem like a tough thing to draw. But learning to draw one on a tablet with its wings open is something all beginners can quickly learn. Start with a small oval, with a vertical line running through it. Add a narrower oval below for the abdomen and a circle above for the head, using lightly drawn, curved lines to connect all three. Use ovals on the side and top of the head to represent the butterfly’s eyes and palpi, with antenna curving from the top. After adding detail to the torso, making it rough to reflect its fluffiness, it’s time to draw the wings. Use a horizontal line across the torso as a basis and upwards angled lines from the middle of this for the upper wings. Use curves around this line for the top part of the wings. Underneath the horizontal line, add curves which should then connect with the upper wings to make them appear complete. For the lower wings, use simple triangles, the lines of which should be curved to make the finished article look realistic.
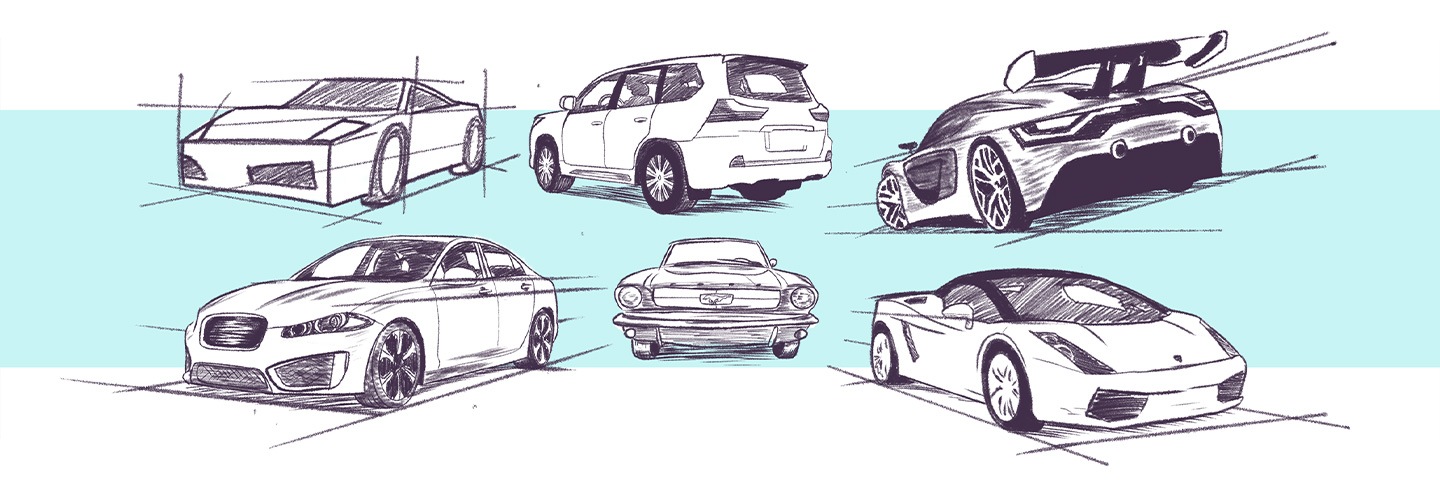
Learning to draw cars can be incredibly complex. But getting the simple shape of a motor vehicle right doesn’t have to be: it’s all about understanding perspective. To get this right, use grid lines drawn from two vanishing points at the top corner of the page towards a third vanishing point off the bottom. This will ensure the car stays in proportion. Start with the wheels, which should be around three wheel lengths apart. Remember, these are essentially ellipses that are in perspective, so don’t draw them flat. Add outlines for the bottom of the car and then curves to represent the body. Use shading and softer pencils to add in details like windows, door handles and the front grille.

Flowers are a great way to bring together lessons learned about lines and curves. Learn to draw flowers that have simple petals to start with, practicing getting curves right. Because their shape can vary, there’s less concern about everything being symmetrical, meaning you can spend a long time trying new approaches, developing your own style rather than creating something that’s photo-realistic right away.
There’s a reason that trees are a favorite when we learn to draw as children. At their simplest, they can be just two lines for a trunk and a circle to represent the branches and leaves. But the fact they offer so much detail means you can draw the same tree over and over again and get a different result each time. Their branches are great for working on curves, while leaves can help your practice non–linear patterns and getting shade right.

Fruit is a classic thing to learn to draw for beginners. Sketching a fruit bowl full of apples, oranges and bananas can help develop better hand to eye coordination, thanks to their irregular shapes and the recurrence of curves. The bowl itself can also act as helpful practice for getting symmetry spot on too. Try turning the bowl or sketching it from a different angle to see how shapes change and how your drawing responds.
Learning to draw eyes might seem like a challenge, but their basic shape is relatively straightforward, with two simple curves surrounding a perfect circle. Getting the basic shape right takes time, but by drawing multiple eyes repeatedly, you’ll soon have created something that looks right. The chance to add detail here is infinite, from shading the iris, adding eyelashes and drawing eyebrows. Get this right and your ability to create arresting portraits will be boosted.
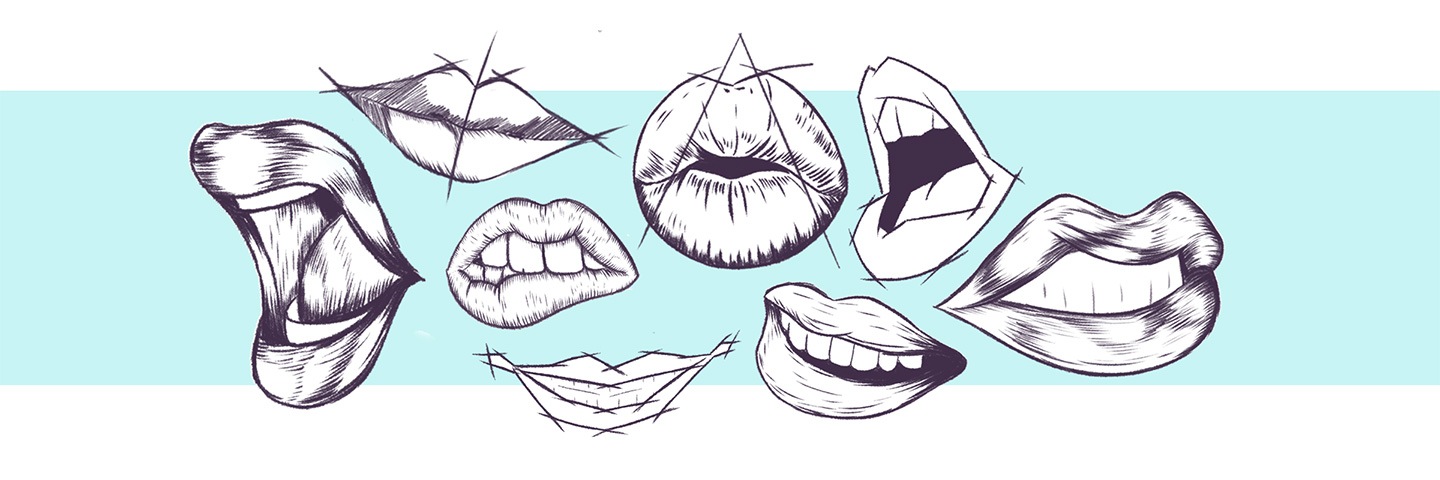
Learning to draw lips is a great subject for taking curve drawings to another level. They require a basic understanding of symmetry, using an axis line and a triangle through which you can draw a bow that mimics the top lip and a curve for the lower lip. Within this you can add further details, such as shading and light to make your lips look as realistic as possible. Once again, playing around is key. It’s hard to draw lips right first time, so keep at it until you’re pleased with what you’ve made.
Wacom One creates a pen-on-paper feeling, thanks to a 13.3” screen with natural surface friction and minimal reflection. The pen feels light and natural in your hand and transforms into a pencil, paintbrush or chalk in your selected software. It can even be used as eraser which can come in handy. Creative software comes included, along with the ability to connect to your Mac or PC, as well as certain Android devices.
Recommended product
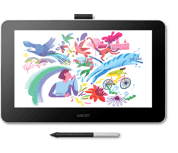
Wacom One 13
Draw, design and create directly on a high resolution screen with a precise pen.
The super-natural and accurate Wacom Intuos pen with over 4,000 levels of pressure sensitivity and ergonomic design allows you to draw curves with precision and control. Wacom Intuos is really easy to use. Simply connect to your computer, as well as certain Android devices and set your imagination free.
Recommended product
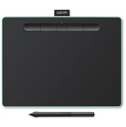
Wacom Intuos Bluetooth
Sketch, draw and edit images with a responsive pad, a precise pen and see your creations appear on screen.
ワコムではその企業理念として、人々がテクノロジーを自然に利用できるようなインタフェースを提供することで、人とテクノロジーの架け橋となることを追求しています。この理念のもとに、ワコムはインタラクティブに使用できるペンタブレットやペンディスプレイ、デジタルペン、電子サインの保存・処理ソリューションの分野を世界的にリードするメーカーとなっています。ワコムの直感的に使用できる入力デバイスの高度なテクノロジーは、今最も注目されるデジタルアート、映画、特殊効果、ファッション、デザインなどの制作において世界中で使われています。また、ビジネスからホームユースまでのさまざまなシーンでユーザーの個性を表現するための最先端インターフェース技術を提供しています。ワコムは1983年に日本で創業されて以来(東証1部:コード 6727)、世界的に事業を展開するメーカーとして成長してまいりました。現在、150ヶ国以上における製品の販売や流通を支えるために世界各地に子会社や関連会社を設けています。