


Pen tablets
Sketch, draw and edit images with a responsive pad, a precise pen and see your creations appear on screen.


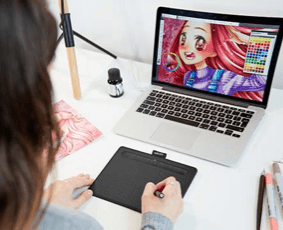

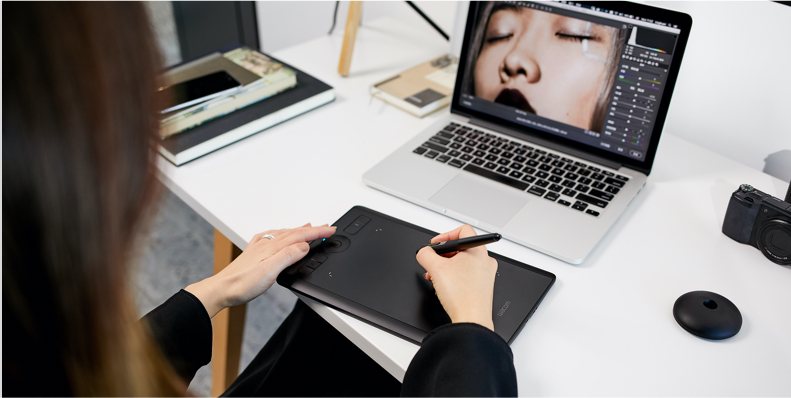
Photo editing can seem tough when first starting out. All beginners and novices will make mistakes, and even experts can slip up when trying out new software. But by knowing the most common mistakes, you can avoid them and become a master of turning your images into sharp, well contrasted creations. Read on and we’ll explore five of the most common photo editing mistakes and how you can take your photo editing to the next level.

Whenever you download images from a memory card, it’s essential to make a backup, either to an external hard drive or on a cloud storage service. This reduces the risk of images being lost if your computer breaks down. It’s also vital to do so before you open an image in your photo editing software.
Editing an original image and then saving it means you can’t fix major mistakes or return to a picture and start a fresh edit if you’re unhappy with how things have turned out. This is especially true if you resize an image, only to find a client has a different vision of what the final edit should look like.

While it can be tempting to make extreme adjustments to an image’s contrast using your photo editing’s automatic tools, doing so can lead to dark areas becoming too dark and white areas becoming too white. Push the contrast too high and you can ruin a good picture. This can be easily avoided by using curves. Curves allow you to make changes to contrast that are a lot more detailed, giving you the chance to be more selective about how you tweak an image. Create a new adjustment layer when you do so and never edit on the main image – this will allow you to see how any changes to contrast compare to the original. Plus, it gives you the option to start again if required.

It can be tempting to showcase your advanced photo editing skills by brightening the eyes of your subject. But making them too bright can easily make them appear otherworldly and alien, something to avoid when working on realistic portraits or animal photography. The dodge and burn tools will help you improve your technique, allowing you to make minor adjustments right down to a few pixels if you wish. Dodge irises to make them stand out, use white balance adjustments on the whites of the eyes to help colors stand out and then burn around the irises to boost contrast.
Having a solid understanding of color and how different colors work with each other is an essential part of becoming an expert photo editor. But as well as knowing which colors go well with each other when splitting tones and editing shadows and highlights, it’s vital to ensure your monitor is properly calibrated. If it isn’t, the image you print can easily appear lighter or darker than what you have on screen. You can do this by tweaking the display settings of your computer or by using dedicated hardware and software that assess conditions to ensure what appears on screen and on paper is the same. The latter is an investment that all professionals should make, while amateurs should still try basic calibration to improve their work.
The very best images are always sharp, no matter what the subject, helping draw people’s attention with their well-defined edges and clear contrast. While a lot of this sharpness will be down to how well an image has been taken, it is possible to make an image sharper using photo editing tools. However, overdoing it can cause halos, which appear around the edges of subjects and artifacts, which can cause a frustrating loss of detail. It pays to understand how to use a high pass filter – using a new layer, select this tool via your photo editing software’s filters menu, define the edges, adjust the opacity and remember to delete areas you don’t want to sharpen. It’s also worth remembering that sharpening an out of focus image is extremely difficult – remember to make sure images are in focus when shooting.
Wacom Intuos gives you the control you need for optimum photo editing. The pen feels incredibly natural in your hand, with over 4,000 pressure levels and ergonomic design for enhanced precision. Wacom Intuos is really easy to use. Simply connect to your Mac or PC, as well as certain Android devices. Plus with Bluetooth, it can connect to your computer with the click of a button.
Recommended product
Wacom Intuos Bluetooth
Sketch, draw and edit images with a responsive pad, a precise pen and see your creations appear on screen.

Sketch, draw and edit images with a responsive pad, a precise pen and see your creations appear on screen.

Draw, design and create directly on a high resolution screen with a precise pen.


ワコムではその企業理念として、人々がテクノロジーを自然に利用できるようなインタフェースを提供することで、人とテクノロジーの架け橋となることを追求しています。この理念のもとに、ワコムはインタラクティブに使用できるペンタブレットやペンディスプレイ、デジタルペン、電子サインの保存・処理ソリューションの分野を世界的にリードするメーカーとなっています。ワコムの直感的に使用できる入力デバイスの高度なテクノロジーは、今最も注目されるデジタルアート、映画、特殊効果、ファッション、デザインなどの制作において世界中で使われています。また、ビジネスからホームユースまでのさまざまなシーンでユーザーの個性を表現するための最先端インターフェース技術を提供しています。ワコムは1983年に日本で創業されて以来(東証1部:コード 6727)、世界的に事業を展開するメーカーとして成長してまいりました。現在、150ヶ国以上における製品の販売や流通を支えるために世界各地に子会社や関連会社を設けています。