

![]()
Un lápiz digital inteligente para escribir, redactar notas y anotar con Windows Ink. Sigue estos cuatro sencillos pasos para configurar tu Bamboo Ink. O bien ve este video.


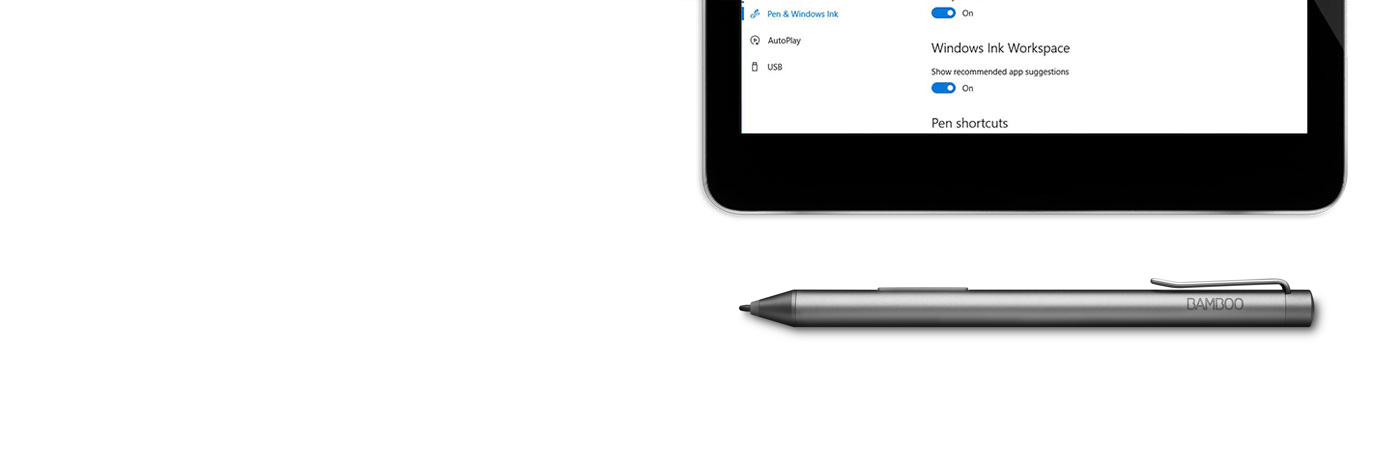
A continuación, encontrarás una sencilla guía paso a paso, en la que aprenderás a configurar el Bamboo Ink y a empezar a trabajar con Windows Ink (una función sencilla y rápida para lápices en dispositivos Windows 10).
![]()
Un lápiz digital inteligente para escribir, redactar notas y anotar con Windows Ink. Sigue estos cuatro sencillos pasos para configurar tu Bamboo Ink. O bien ve este video.
Si tienes el último Bamboo Ink, representado más arriba, puedes comenzar tu configuración haciendo clic a continuación.
Continúa aquíSi tienes el Bamboo Ink de la generación anterior, representado más arriba, puedes comenzar tu configuración haciendo clic a continuación.
Continúa aquí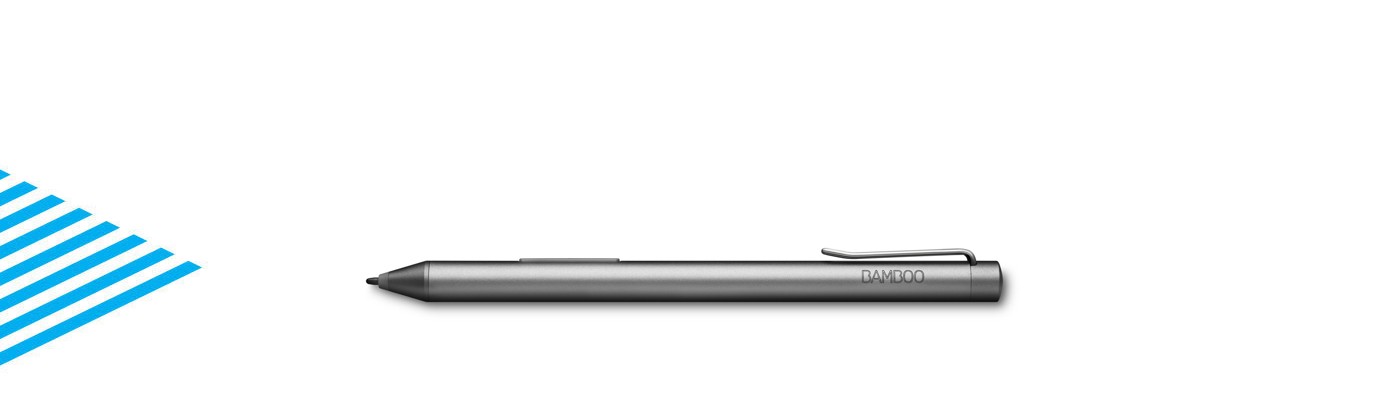
Para comprobar si tu dispositivo Windows es compatible con Bamboo Ink, consulta la lista de dispositivos probados en esta página.
Para disfrutar de la mejor experiencia posible, te recomendamos actualizar el controlador de tu dispositivo Windows. Haz clic aquí para descargarlo en tu dispositivo y sigue las instrucciones en pantalla.
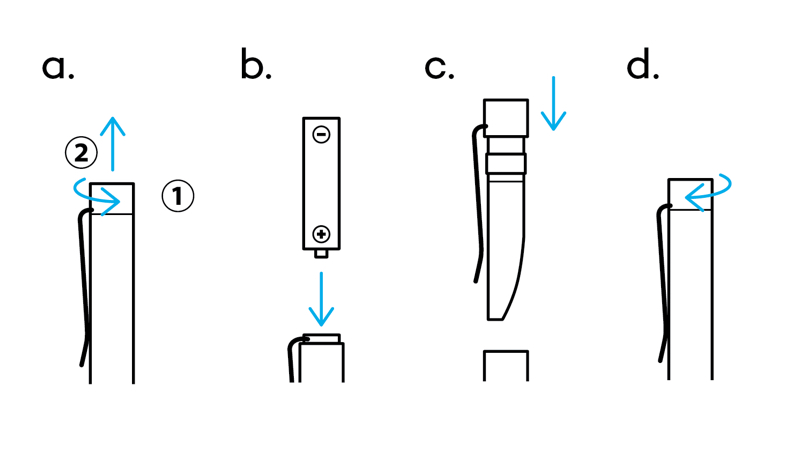
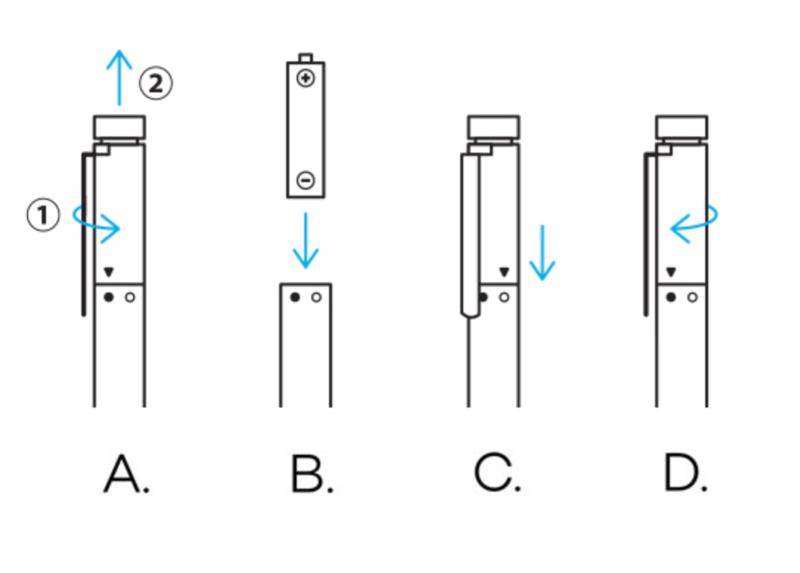
Gira el extremo superior del Bamboo Ink para desbloquearlo. Ábrelo e inserta la batería como se indica; a continuación, gira el extremo superior para bloquearlo.
Asegúrate de introducir la batería con el lado "–" hacia arriba.
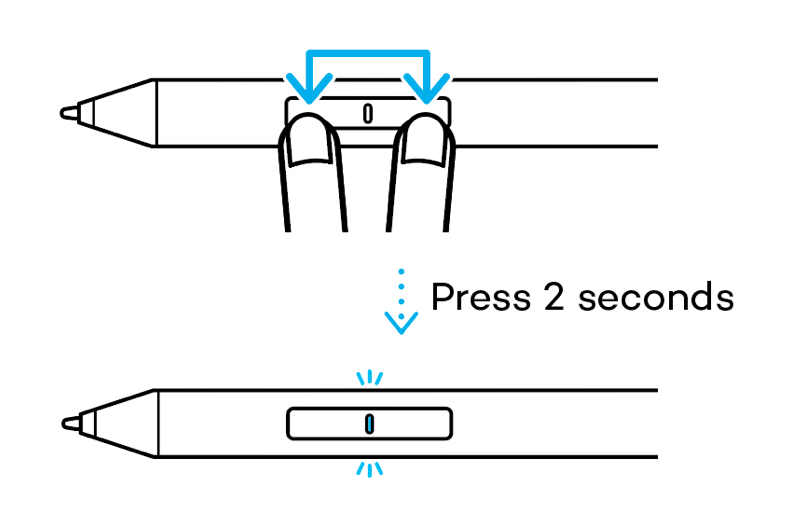
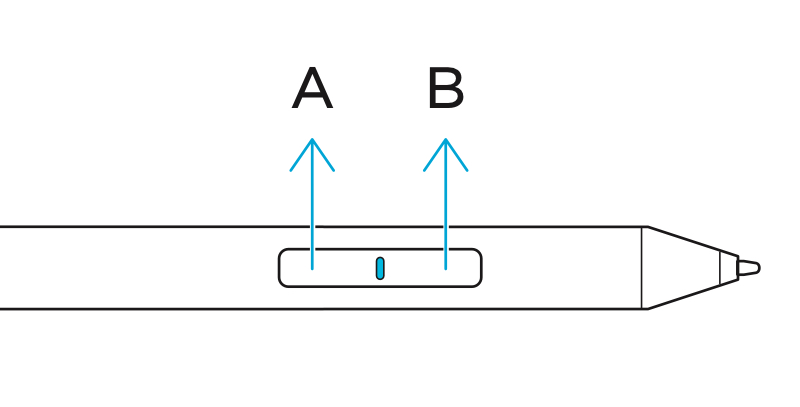
El Bamboo Ink es compatible con dos protocolos. El lápiz debe corresponderse con el protocolo de tu dispositivo Windows. Si el lápiz digital no funciona en tu dispositivo, puedes cambiar el modo fácilmente.
Mantén pulsados los dos botones laterales a la vez durante dos segundos para cambiar de protocolo. Repite el paso anterior para volver al protocolo previo.

Para comprobar si tu dispositivo Windows es compatible con Bamboo Ink, consulta la lista de dispositivos probados en esta página.
Algunos dispositivos requieren actualizar el controlador. Para comprobar si el dispositivo es uno de estos, comprueba la lista a continuación. Si tu dispositivo no está en la lista, continúa con el paso 2. Si el dispositivo está en la lista, pulsa aquí para descargar el controlador "Bamboo Ink stylus" en tu dispositivo. Guárdalo en el dispositivo y haz doble clic en el archivo para instalar el controlador. Sigue las instrucciones que aparecerán en la pantalla.
Gira el extremo superior del Bamboo Ink para desbloquearlo. Ábrelo e inserta la batería como se indica; a continuación, gira el extremo superior para bloquearlo.
El Bamboo Ink funciona con dos modos de compatibilidad. El modo se debe corresponder con el modo de tu dispositivo Windows. Si el lápiz digital no funciona en tu dispositivo, puedes cambiarlo fácilmente.
Mantén pulsados los dos botones laterales a la vez durante dos segundos para cambiar de modo. Repite el paso anterior para volver al modo previo.
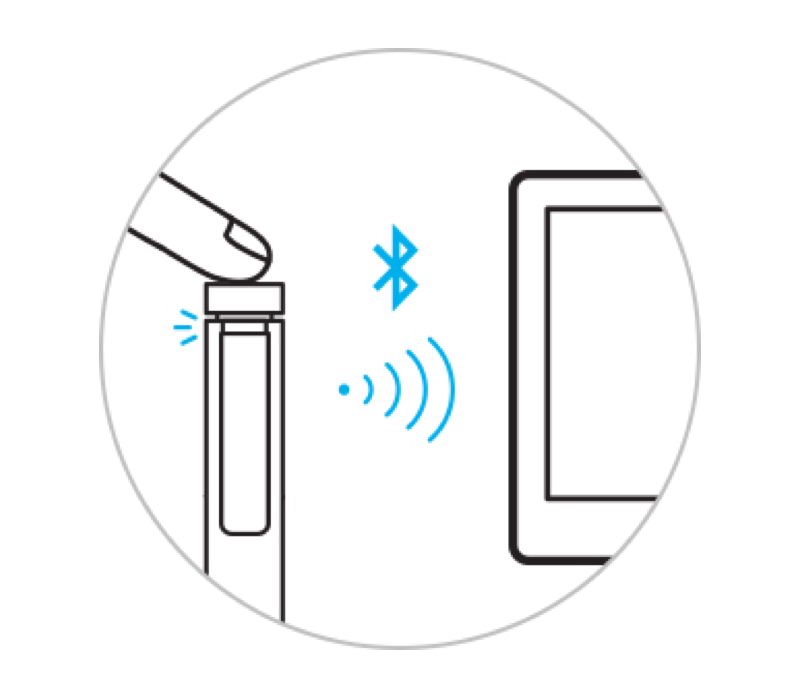
1. En el escritorio de Windows 10, pulsa "Inicio", selecciona "Configuración", ve a "Dispositivos", elige "Bluetooth" y actívalo.
2. A continuación, toma el Bamboo Ink y mantén pulsado el botón superior durante unos seis segundos hasta que el led empiece a parpadear.
3. Elige Bamboo Ink en la lista de dispositivos detectados y selecciona "Conectar".
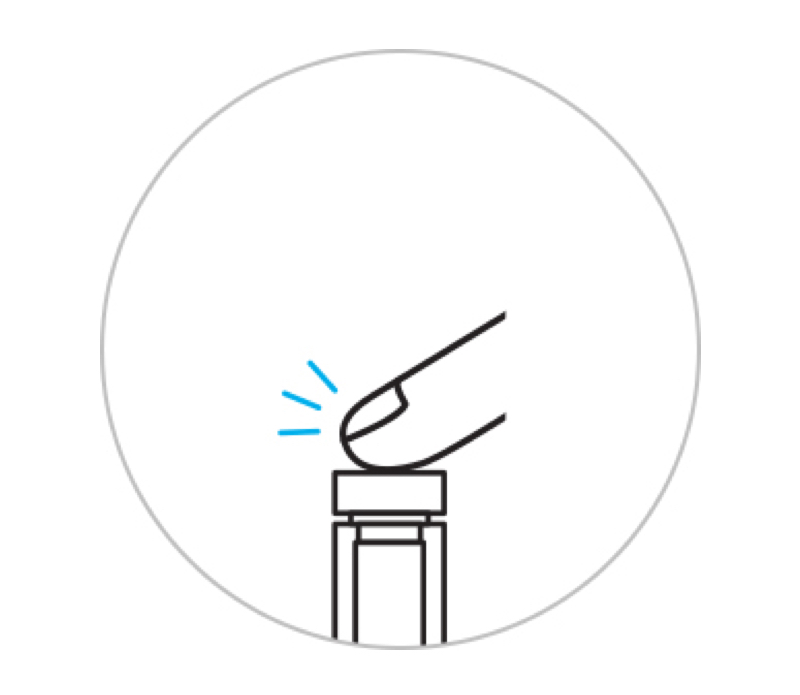
Pulsa el botón una vez para abrir rápidamente el Área de Trabajo de Windows Ink.
Pulsa dos veces el botón superior para abrir la Anotación en captura de pantalla.
Mantén pulsado el botón superior para abrir Notas Rápidas.
Cambia los ajustes por defecto como mejor te convenga. Ve a "Inicio", selecciona "Configuración" y, después, accede a "Dispositivos" y personaliza el comportamiento del Bamboo Ink en "Lápiz y Windows Ink".

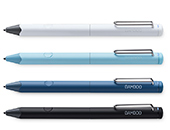
Accesorios (de venta por separado): kit de 3 puntas (suave, media y firme) que se ajustan a tu forma de trabajar.
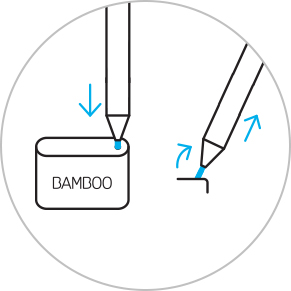
Para cambiar la punta, introdúcela en el pequeño agujero del extractor de puntas integrado en el kit de puntas. Inclina el lápiz digital para extraer la punta.
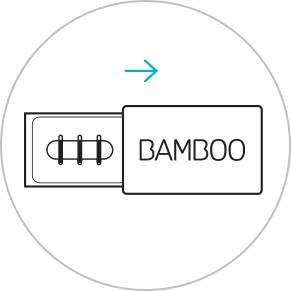
Desliza para abrir el set de puntas y elige de izquierda a derecha: firme (negra), media (gris) o suave (negra).
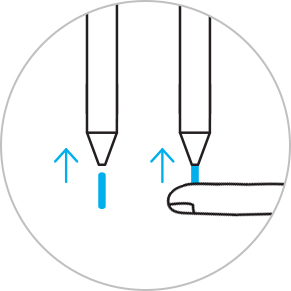
Presiona ligeramente para colocar la punta que prefieras. Asegúrate de que la punta esté fijada correctamente.
![]()
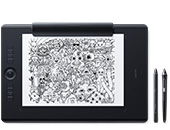
Notas rápidas, bloc de bocetos, anotación en captura de pantalla: El Área de trabajo de Windows Ink incluye tres aplicaciones preinstaladas que te ayudarán a poner en marcha tus ideas en el Bamboo Ink.
![]()
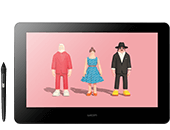
Bamboo Paper convierte tu dispositivo en un bloc de notas de papel. Captura tus ideas y pensamientos, notas, bosquejos y dibujos de una forma tan directa y sencilla como al usar un bloc de notas de papel real.
Notas rápidas, Bloc de bocetos, Anotación en captura de pantalla: el Área de trabajo de Windows Ink incluye tres aplicaciones preinstaladas que te ayudarán a poner en marcha tus ideas en el Bamboo Ink.
Bamboo Paper convierte tu dispositivo en un bloc de notas de papel. Captura tus ideas y pensamientos, notas, bosquejos y dibujos de una forma tan directa y sencilla como al usar un bloc de notas de papel real.
Todos los productos de Wacom se pueden limpiar de forma segura con alcohol isopropílico al 70 o 75 por ciento (alcohol para frotar) cuando se aplica a un paño suave sin pelusa. Pase ligeramente el paño humedecido en las superficies duras y no porosas de su producto de Wacom, como la pantalla u otras superficies exteriores. No utilice lejía. Evite humedecer las aberturas y no sumerja su producto de Wacom en ningún producto de limpieza. Consulte a continuación para obtener sugerencias adicionales o comuníquese con su equipo de servicio al cliente de Wacom local.
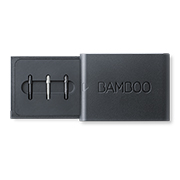
Set de puntas para Bamboo Ink, que incluye tres tipos de puntas diferentes (suave, media y dura) las cuales ofrecen una sensación auténtica y personal sobre la pantalla y te permiten elegir tu estilo de escritura individual.